
Key Takeaways
- Vacuum or dry-sweep tile floors thoroughly before mopping to remove loose grit that could scratch delicate tile glazes.
- Clean tile surfaces using warm water mixed with a few drops of mild dish soap, then rinse with clean water and buff dry using a microfiber mop to prevent water spots.
- Scrub discolored grout lines with a paste of baking soda and water, avoiding harsh acids, wire brushes, or unbuffered bleach that erode porous grout seals.
- Reapply a quality grout sealer every 6 to 12 months to protect floor seams against persistent dampness, mud, and dirt during wet Pacific Northwest seasons.
Tile flooring is a popular, durable choice for entryways, kitchens, and bathrooms across the Pacific Northwest, where damp boots and muddy paws are an ongoing part of daily life. Keeping those hard surfaces looking bright requires more than just a quick surface wipe when dirt tracks inside. Following a consistent care routine alongside professional house cleaning in Vancouver, Washington keeps tile surfaces smooth, prevents dingy buildup in grout lines, and protects your home’s hard surfaces over the long haul.
Step-by-Step Routine for Routine Tile Floor Maintenance
Whether your home features glazed ceramic, dense porcelain, or natural stone tile, removing surface grit before introducing liquids is the foundational step in effective floor care.
1. Dry Vacuum or Sweep
Loose sand, fine gravel, and dry soil act like sandpaper when dragged across tile by a damp mop head. Dry-vacuum using a hard-floor setting (with the rotating brush roll turned off) or sweep thoroughly with a soft-bristled broom, paying close attention to baseboards and room corners.
2. Apply a Mild Cleaning Solution
Avoid heavy floor waxes or abrasive scouring powders, which leave sticky films that attract dust. Instead, fill a clean bucket with warm water and add 2 to 3 drops of pH-neutral liquid dish soap. Dampen a flat microfiber mop in the solution, wring out excess water until the mop is damp rather than soaking wet, and wipe the floor in smooth, overlapping sections.
3. Rinse with Fresh Water
Soapy residue left on tile glazes dries into a cloudy haze that dulls the surface finish over time. Go over the freshly mopped area with a second mop bucket containing clean, warm water to lift remaining detergent traces.
4. Buff Dry
Allowing standing water to evaporate on tile leaves visible mineral spots, particularly in areas with hard water. Buffing the floor dry with a clean, dry microfiber towel or dry flat mop head lifts leftover moisture and restores a streak-free shine.
| Cleaning Stage | Recommended Tool | Frequency | Core Objective |
| Dry Soil Removal | Microfiber dust mop or hard-floor vacuum | 2–3 times weekly | Remove abrasive grit before mopping |
| Damp Mopping | Flat microfiber mop + pH-neutral soap | Weekly | Lift oils, mud, and surface spills |
| Grout Spot Cleaning | Soft-bristle brush + baking soda paste | Monthly or as needed | Lift embedded soil from porous seams |
| Grout Resealing | Penetrating grout sealer + applicator | Every 6–12 months | Lock out moisture and prevent staining |
How to Deep Clean and Protect Grout Lines
Grout is a cementitious, highly porous material that absorbs liquids, oils, and dirt far more readily than the glazed tile surrounding it. Over time, moisture and traffic cause grout lines to darken and discolor.
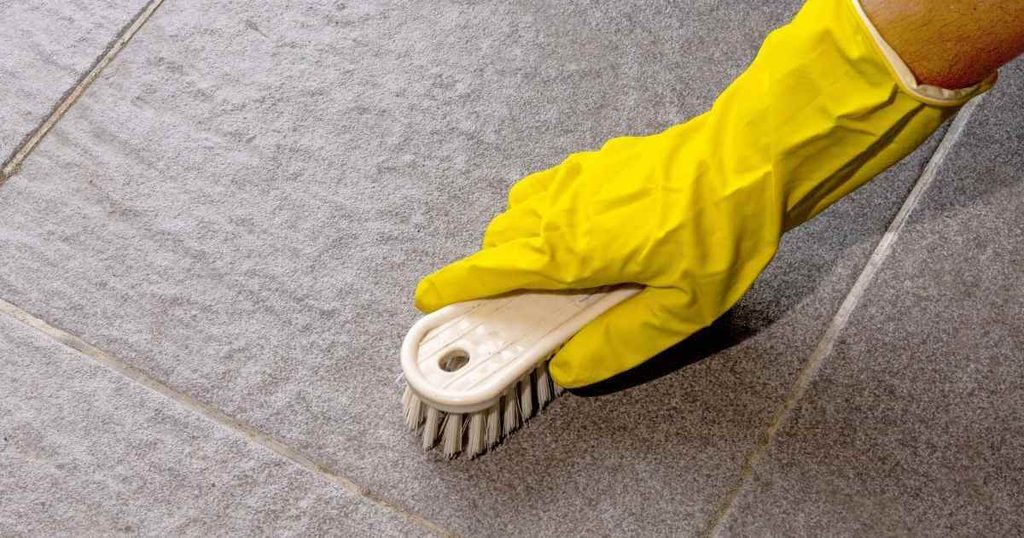
To lift trapped grime without damaging the surrounding seal, create a thick paste using three parts baking soda to one part water. Spread the paste generously along the grout lines and let it sit for 10 to 15 minutes to break down soil. Gently scrub the grout using a soft-bristled brush or an old toothbrush, applying light pressure along the seam. Wipe away the dirty slurry with a damp cloth, rinse thoroughly with clean water, and dry the area completely.
According to the Institute of Inspection, Cleaning and Restoration Certification (IICRC), cementitious grout requires periodic application of a penetrating sealer to reduce liquid absorption, protect against permanent staining, and simplify routine maintenance.
Critical Care Warnings: Chemicals and Tools to Avoid
Because tile glazes and cement grout react poorly to harsh treatments, avoiding damaging products is critical to preserving your flooring investment.
- Unbuffered Bleach and Harsh Acids: Strong acids like muriatic acid and concentrated bleach erode cement-based grout, causing it to crumble, pit, and weaken over time.
- Wire Brushes and Steel Wool: Abrasive metal scrubbing pads create microscopic scratches on ceramic and porcelain glazes, permanent marks that collect dirt faster in the future.
- Wax or Oil-Based Cleaners: Products designed to add artificially high gloss to wood or laminate leave sticky coatings on tile that attract dust and make floors slippery.
- Excessive Standing Water: Flooding tile floors allows water to seep under baseboards and into subflooring, potentially causing hidden moisture issues or board warping beneath the installation.
Simple Steps for Long-Term Tile Preservation
Protecting tile floors between routine maintenance sessions comes down to smart prevention strategies:
- Place heavy-duty, absorbent doormats inside and outside every exterior entryway to catch mud, rainwater, and grit before it reaches your living spaces.
- Place protective felt pads beneath heavy furniture legs to prevent scratching when chairs or tables slide across tile.
- Clean up food spills, pet accidents, and standing water immediately to prevent acidic liquids or pigments from penetrating porous grout seams.
When life gets busy and routine maintenance falls behind, professional care makes a noticeable difference. Incorporating floor detailing into your recurring cleaning schedule helps maintain fresh, healthy living spaces week after week. If your home needs an intensive refresh after a season of heavy foot traffic, scheduling a comprehensive one-time cleaning targets stubborn dust and floor buildup so your surfaces stay in peak condition.
FAQ
How often should tile floors be mopped?
High-traffic tile floors in kitchens, entryways, and main bathrooms benefit from weekly mopping. Low-traffic areas like guest bedrooms or formal dining spaces generally require mopping only every two to three weeks, provided dry soil is swept up regularly.
Why do my tile floors look cloudy after mopping?
Cloudiness is almost always caused by using too much soap or failing to rinse the floor with clean water afterward. The leftover soap dries into a sticky film that traps fine dust. Rinsing with plain warm water and drying with a microfiber cloth resolves this issue.
Is vinegar safe to use on all tile floors?
Diluted vinegar is sometimes used on glazed ceramic or porcelain tile, but it should never be used on natural stone tile like marble, granite, limestone, or slate. The acetic acid reacts with natural stone, causing irreversible surface etching.
Ready to Enjoy a Spotless Home Without the Effort?
Keeping up with floor care and household chores requires constant time and energy, especially during busy work weeks. At Rise and Shine, our background-checked employees bring over a decade of trusted experience and meticulous attention to detail to residences across Greater Portland and Vancouver. Backed by our 24-hour satisfaction guarantee, our team takes pride in providing reliable, detail-driven care tailored to your home’s needs. Whether you need ongoing maintenance or detailed support for an upcoming move with our move-in/out cleaning services, we are here to help you live the dream while we clean. If you are ready for a reliable service you can trust, connect with our team today at 503-303-6990 to request your personalized quote.
